
SunTuf roof panels are an excellent choice for residential and commercial applications due to their durability, lightweight construction, and excellent performance under various weather conditions. Their installation can be a great way to create a durable, weather-resistant roof for outdoor structures. Property owners should learn how the contractors install SunTuf roof panels. These steps include gathering the necessary materials and tools, preparing the roof frame for installation, and measuring and cutting the panels. Then, the roofing company will install the first SunTuf panel, finish the edges and seals, and make a final inspection and cleanup.
A Step-by-Step Guide to Install SunTuf Roof Panels
SunTuf roof panels can make outdoor areas beautiful and durable. This easy, step-by-step guide will help you install them successfully and create a wonderful patio, carport, or other type of structure.
Step 1: Materials and Tools are Needed
These are some of the tools and roofing materials needed before starting with the SunTuf roof panel installation:
- SunTuf polycarbonate roof panels
- Roofing screws (with rubber washers)
- Purlins or battens
- Tape measure
- Drill
- Hammer
- Circular saw or tin snips (for cutting panels)
- Ladder
- Safety gloves and goggles
- Chalk line or string line
- Silicone sealant (optional for sealing edges)
Step 2: Prepare the Roof Frame
Preparing the roof frame, which usually consists of rafters and purlins, is the second step in installing SunTuf roof panels.
Rafters and Purlins
- Rafters are the main supports running from the roof’s ridge to the eaves, while purlins are placed horizontally across the rafters, supporting the SunTuf panels.
- The spacing mainly depends on your roof’s slope and wind load, but generally, for low slopes, the maximum spacing should be 36 inches or 900 mm.
Slope
The slope should be at least 5° (or a 1-inch rise for every 12 inches of run). This slope allows rainwater to flow off freely and not collect on the roof.
Clean and Secure
Clean the frame, clear out debris, and securely strengthen all rafters and purlins in the structure.
Step 3: Measure and Cut the Panels
Once the SunTuf roof panel installation contractors have prepared your roof frame, they will measure and cut the SunTuf panels so they fit over your particular roofing area.
Measuring
Use a tape measure to determine the dimensions of every panel based on the measurements of your particular roof. Having 1–2 inches of overhanging vertically is preferable to ensure that the water flows off the walls.
Cutting the SunTuf Panels for Installation
A circular saw with a fine-tooth blade should be used for longer, straight cuts. The team should wear safety gloves and goggles when cutting and installing roofing panels. If the panels have to be trimmed, tin snips may be used to make shortcuts.
Protective Film
Most SunTuf Panels are coated with a protective film. Keep the protective film on during cutting to prevent scratching the polycarbonate. The installation team will peel off the film once the panels are installed.
Install the First SunTuf Panel
The roof frame is ready, and your panels have been cut. It is now time to attach the first panel.
Position the First Panel
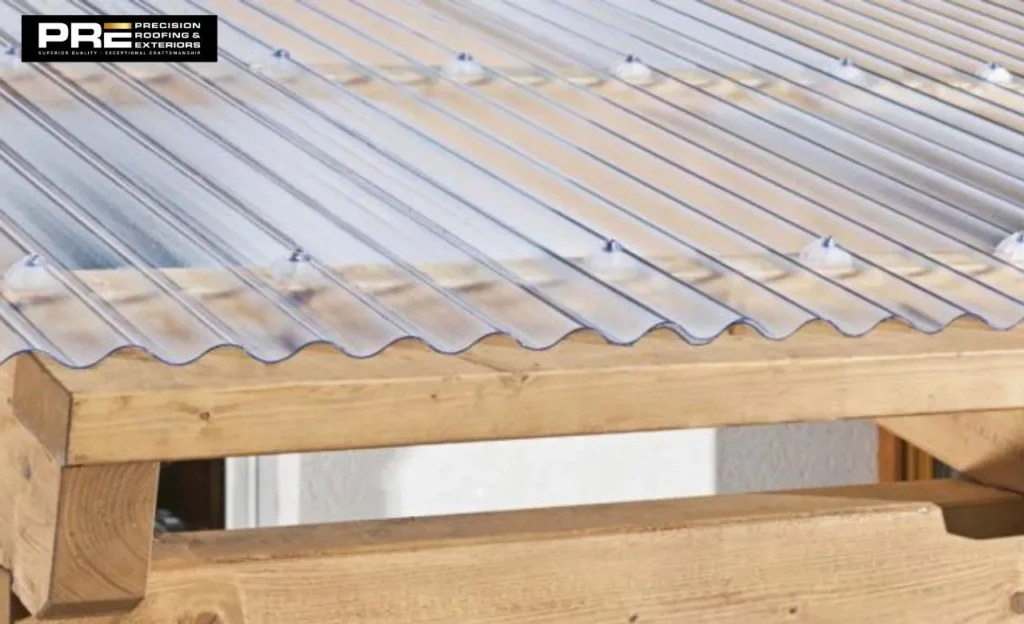
Along one edge of the roof, place the first SunTuf panel with an overhang of at least 2 inches over the edge to allow proper water runoff.
Secure the Panel
Drill through the high points of the groove in the panel and screw it to the purlins using screws and rubber washers. These washers create a waterproof seal. Just be sure that the screws are driven straight in, as overtightening could crack the panel.
Install the Remaining Panels
- After the first panel is installed, our roof installation experts will mount the rest of the SunTuf panels, so there should be at least six inches of overlap for proper water run-off.
- Once done, locking them up with all their screws on each side also maintaining space equally ensure that the whole structure is stable and strong.
Step 5: Finish the Edges and Seals
After placing all the panels, the final part is sealing the ends of the roof to secure everything.
End Closure Strips
These strips close gaps between the panels and the roof edge or frame, excluding insects, dust, and water from entering the open corrugations.
Sealing
- In areas where harsh rains or wind are likely to prevail, silicone sealant can be applied at the seams or over the joints where multiple panels are overlaid.
- However, do not obscure areas where water is supposed to drain off the roof.
Step 6: Inspect and Clean Up
Once all the panels and accessories are installed, the installation team of Precision Roofing checks the roof for any missed screws or loose areas that might need tightening. Look for every gap or water leakage point and seal the area with weatherproofing materials.
- Debris Removal: Once debris, such as metal shavings from drilling, is removed, clean the roof. Over time, these could rust and damage the roof.
- Check Fasteners: All screws should be tight and not overtightened, while the washers have to all be level to create an effective seal.
How do I Prepare the Surface Before Installation?
Before installing SunTuf roof panels, ensure the surface is clean and dry. Remove any debris, dirt, or loose materials that could interfere with adhesion. Inspect the structure for stability and make necessary repairs to guarantee proper support and durability for the panels.
How Much Overlap Does SunTuf Have?
SunTuf panels typically require an overlap of at least 6 inches to ensure proper water drainage and structural integrity. This overlap helps prevent leaks and enhances the installation’s overall durability.
How to Fasten SunTuf Panels?
To fasten SunTuf panels, use corrosion-resistant screws with rubber washers, spacing them approximately 24 inches apart along the panel edges, ensuring a tight seal to prevent water leakage and enhance durability.
Conclusion
Installing SunTuf roof panels is a practical and rewarding project that can enhance the look and function of your outdoor space. Knowing the installation team’s process, homeowners will be comfortable purchasing SunTuf roof panels. The installation team will gather all the necessary equipment and tools to ensure a straightforward installation. Then, we measure the panels and make cuts where necessary. Finishing touches are done at the edges and the seals, and finally, a final inspection and cleanup are conducted.