EPDM, or Ethylene Propylene Diene Monomer, is one of the most popular materials for flat roofing. It is known to be flexible and temperature-resistant and ideal for flat roofs because of its long-term waterproofing. The following guide outlines the preliminary steps to consider when installing EPDM on a flat roof.
For a better finish, you can start by cleaning and preparing the roof deck. Then, apply the EPDM membrane, add water-based adhesive, and fix the edges. Using the right tools and a little patience will ensure a professional-quality installation. So, without further ado, let’s move right into the details on how to install epdm rubber roofing on a flat roof.
Tools Required to Install EPDM on a Flat Roof
Preparing all the tools and equipment beforehand is crucial as you begin installing the EPDM on a flat roof. It will be more efficient and have a good-quality finish if you have the necessary tools. Here’s a comprehensive list that covers the tools you will need to gather:
- EPDM rubber membrane
- 9” roller
- Broom
- Mastic
- Hammer
- Soft brush
- Angle grinder
- Mortar chisel
- Water-based adhesive
- Contact adhesive
- Sharp knife
- EPDM tape
- Paintbrush
- Rubber Primer
- Masonry drill
- Penny roller
A Step-by-Step Guide to Installing EPDM on a Flat Roof
Installation of EPDM (Ethylene Propylene Diene Monomer) roofing on a flat roof is easy if you follow the right guidelines. Here are clear, step-by-step instructions for your help by professional roofing and exterior experts.
Step 1. Surface Cleaning and Preparation
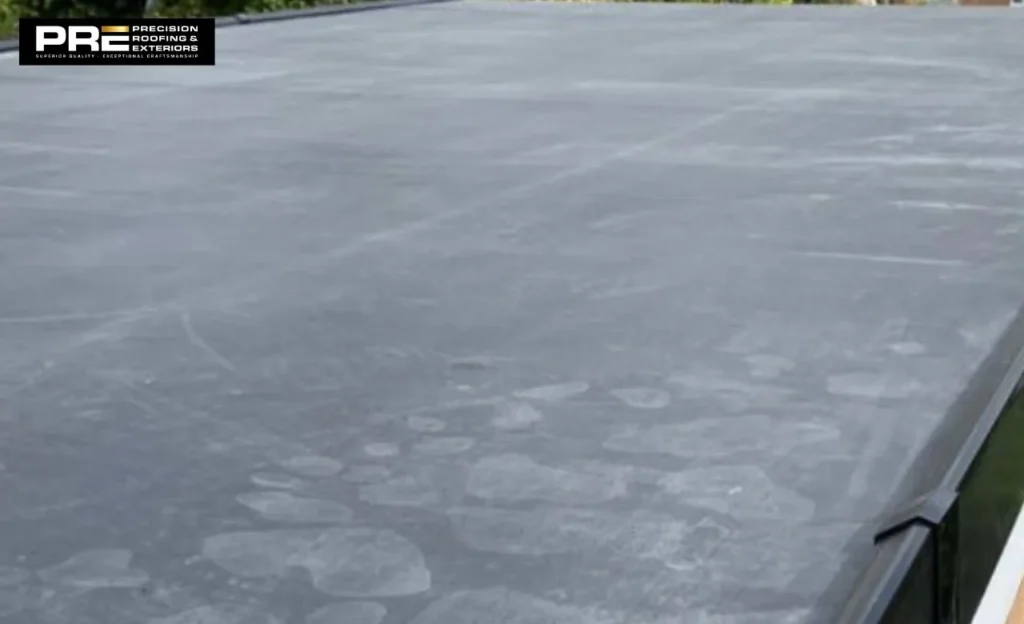
First, prepare the roof surface adequately for good-quality roofing installation. Clean away dirt, dust, grease, debris, and other contaminants with a soft-bristled brush. Remove old roof coverings, such as asphalt layers. Also, ensure the roof is completely dry when applying the EPDM since moisture prevents good bonding.
Water trapped underneath can evaporate and weaken this roofing system through bubble formation. Carefully inspect the surface for cracks or gaps. If you identify gaps larger than a quarter inch, fill them using wood strips since the EPDM membrane will not stick to bigger openings. Cut the joint between two bricks into the mortar using an angle grinder or mortar chisel.
Step 2. Lay and Trench the EPDM Membrane
Unfold the EPDM membrane and lay down the entire roof surface to allow for overhang along the edges and walls. This excess material will be crucial for sealing the perimeter of the roof. Place drip battens and drip back trim along the edges for effective water runoff.
Once the membrane is placed, let it rest for almost 30 minutes. This “resting period” must be followed for the rubber to extend freely and without wrinkles during installation.
Step 3. Water-Based Adhesive Application
After resting, fold the other half of the EPDM membrane to expose the roof deck. Allow a 9″ roller to apply water-based adhesive to the deck evenly. There should be no blobs and uneven patches of glue. Keep 150mm of room along the roof’s edges, where contact adhesive will be applied later.
The membrane should be rolled back into place when the adhesive is still wet. Use a broom to sweep the surface and make it free from air bubbles.
Step 4. Apply Contact Adhesive
Fold all the unglued edges of the membrane along the 150mm perimeter and apply contact adhesive to the roof deck and the back of the EPDM membrane, with upstands covered where the membrane comes into contact with vertical surfaces.
Wait for the contact adhesive to be touch-dry before moving the membrane into place. After the lamination, cut the membrane at the walls and upstands for a flush seam.
Step 5. Seal with EPDM Tape
EPDM tape can be used to service the edges and corners. Cut the tapes enough to 75mm upstand height and an extra 150 mm in width. Apply a primer just beyond the taped area and allow it to dry before pressing the tape firmly on the surface, stretching out where necessary to give it a good fit, then reinforcing with a roller, applying light pressure for complete bonding.
Step 6. Install Wall Trim
Attach wall trim with Rawlplugs. Drill holes in the trim and the wall, place Rawlplugs in them, and tighten them with fasteners. Apply mastic on the chase in the wall and the trim for weather tightness.
Step 7. Finish Roof Edges
For the finishing touches, fold the EPDM membrane across the roof’s edge and then secure it with its overlap. To ensure a good fit, adjust the corner and plastic edge trims and cut these to the necessary length. Firmly push on the snap clips to secure the trims, then attach the drip or gutter trims while trimming any excess membrane for a neat finish.
How to Maximize the Lifespan of Your EPDM Roof?
Here are some effective tips to extend the lifespan of your EPDM roof.
- Inspect Regularly: You can observe your EPDM roof to detect early warning signs of wear and tear before significant damage occurs. Avoid sites with cracks, splits, or loose areas that may compromise membrane integrity. Observe your roof after major storms or extreme weather, as these can weaken the surface.
- Regular Cleaning: To prevent damage, keeping the roof swept with a soft brush or water spray is always helpful to remove dirt and leaves. Apply an appropriate roof cleaning product to the turf mop or soft-bristled brush to thoroughly clean. Avoid using pressure hoses or power washers, which may puncture or tear the roof membrane repairs.
- Prompt Repairs: You should be able to address minor damage, such as holes, tears, or cracks, immediately when you notice them. Most people do not provide routine maintenance to their roofing and thereby miss the early warning signs of minor damage. In the long run, these minor issues may end up causing major problems in the structure, which is when things get complicated and costly.
Conclusion
In a nutshell, EPDM rubber roofing will be the best choice for flat rooftops since they have massive flexibility and are resistant to various weather changes. They make the aesthetic beauty of your house attractive and longer-lasting protection against leaking and damage.
Start by preparing the roof deck for water-based adhesive application, removing air bubbles to ensure it fits airtight. While you could do the process yourself, it is more convenient and guaranteed that professional roofing services will achieve quality installation on your EPDM roofing. For this reason, opt for known experts who provide the best epdm rubber roof service, such as Precision Roofing.