
Shingles on a flat roof sound like an uphill task, as shingles are usually applied on sloped roofs. However, applying the right approach and material on a flat roof is possible, resulting in a durable finish lasting many years. Shingle Roof installation experts inspect and prepare the roof, install the drip edge, apply a waterproof underlayment, and plan the shingle layout. They then lay the shingles, seal the roof, and inspect the installation.
Challenge of Installing Shingles on a Flat Roof
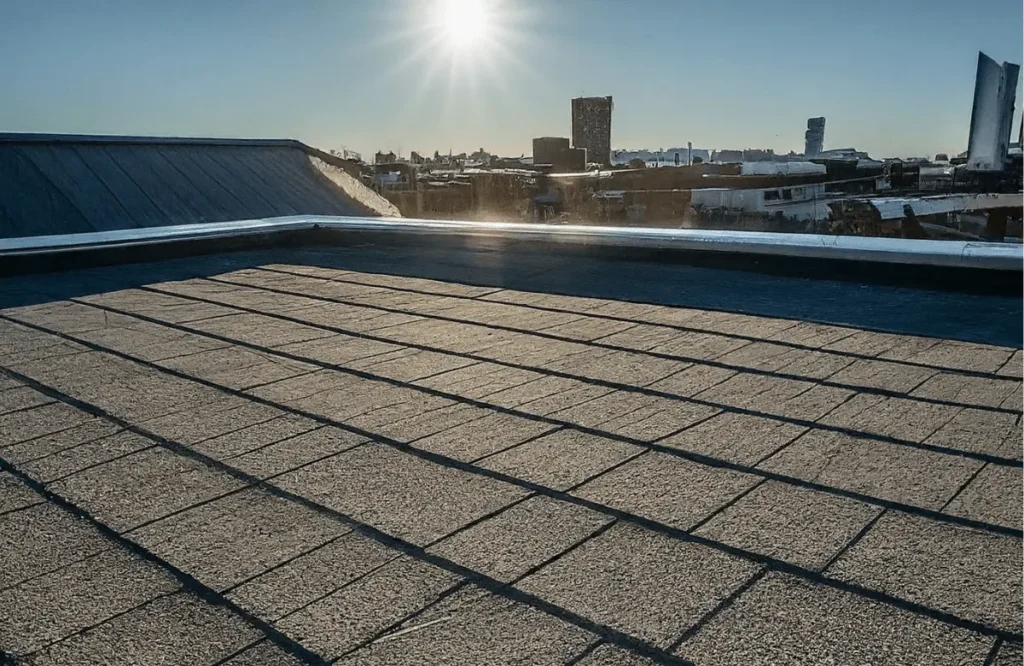
Before beginning, remember that shingles have been designed for sloping roofs. The idea is to let water flow down the slope and off the roof. If it’s a flat roof, there is a greater chance of water gathering in the middle, possibly leading to leaks. Extra precaution is taken when using shingles on flat or low-sloping roofs.
10 Steps to Install Shingles on a Flat Roof
Here are the steps that experts take to ensure proper installation of shingles on a flat roof.
1. Inspect and Prepare the Roof
Start by thoroughly inspecting the existing flat roof. Make sure there are no damages, rot, or weak spots that must be addressed. A strong roof deck is important for the long-term laying of shingles. Clear all debris, dirt, and old roofing material to smooth the roof. The roofing contractors will fix any cracks, holes, or weaknesses in the roof deck. Replace torn plywood or shattered roofing boards to make the surface level resilient.
2. Install the Drip Edge
The drip edge prevents the water from seeping under the roof’s edges, preventing leaks and further destruction after installing shingles on a flat roof. Install the drip edge using roofing nails to hold it around all the flat roof edges. Let it ensure the drip edge overlaps the fascia board to direct water away from the roof.
3. Apply a Waterproof Underlayment
Flat roofs have a higher tendency to collect water, and for that, a waterproof underlayment is required to protect the structure of the roof. For flat or low-slope roofs, I highly recommend a self-adhering watertight membrane. Here are the steps:
- Start at the Bottom: Roll out the underlayment from the bottom of the roof, with a slight overlap of about 4-6 inches during shingles installation on a flat roof.
- Smooth Out the Membrane: Lay out the underlayment so it is smooth on the surface with no wrinkles or air pockets. Use a utility knife to cut the edges.
- Overlap Each Layer: When placing each row of the underlayment, ensure that the previous row overlaps so that water cannot penetrate through the gaps.
4. Plan the Shingle Layout
Next, chalk line guides for the shingles. Without a natural alignment, as given by a sloping roof, these guides will help keep your shingles straight and aligned evenly apart. Here’s how you can plan.
- For flat roof shingle installation, begin on one side of the roof and then move to the other side of the building.
- For this purpose, a chalk line is to be run so that each row of the shingles will be installed.
- Ensure that the lines are straight, as this will reduce wrongly formed lines and give a professional look.
5. Start Laying the Shingles
Now, it is time to begin laying the shingles. Here is how you can go about it.
- Start at the Bottom Edge: The first course of shingles is installed at the bottom edge, with the bottom of the shingles projecting a trifle beyond the drip edge. Fastening should be done through roofing nails or adhesive to ensure you have properly installed shingles on a flat roof.
- Offset the Seams: After that, shift the seams of the shingles from the previous line so that water cannot penetrate the joints. This is called a ‘staggered’ or ‘stair-step’ motion.
- Secure Each Row: When applying each row, staple or nail the shingles at the right points so that the adhesive can pass through the shingles and the roof deck or sub-roof. If adhesive is used, it is applied to the back of each shingle before it is set on the roof.
- Trim the Shingles: Use a utility knife to cut the shingles to the proper length at the roof’s edges. The material should be snugged up against the drip edge to install shingles on a flat roof.
6. Seal the Roof
Once all the shingles are laid, smear all seams, edges, and heads of nails with roofing sealant to waterproof them. This creates additional protection from water seepage and extends the life of your flat roof.
7. Inspect the Installation
Once you have completed the installation, step back and admire your work. Look for loose shingles, exposed nails, or spots that can gather water. Ensure the roof is secure and water will run off the edges without an issue.
Can you install shingles on a flat roof?
Shingles can be installed on a flat roof, but special techniques are necessary. Proper waterproofing underlayment is essential to prevent leaks. A slight slope is usually created to ensure adequate water runoff. This helps avoid water pooling and potential damage.
How do you install shingles on a flat roof?
To install shingles on a flat roof, start by applying a waterproof underlayment. Overlap each shingle by at least 1/4 inch, securing them with roofing nails. Apply adhesive to reinforce the seal between shingles. Ensure even placement for a durable, long-lasting finish.
What type of shingles can you use on a flat roof?
For flat roofs, you can use materials like modified bitumen, asphalt, or single-ply membranes such as EPDM (rubber) or PVC (polyvinyl chloride). These materials are designed for flat roofs and create a durable, watertight seal. They offer reliable protection against water and weather elements.
Conclusion
Installing shingles on a flat roof requires careful planning and execution due to the unique challenges of flat surfaces and the risk of water pooling. So, best Roofing company like Precision Roofing evaluate the roof’s condition, secure the drip edge, choose the water-proof underlayment, and design the shingle configuration. They then lay down the shingles, seal the roof, and then go over the work they have done.