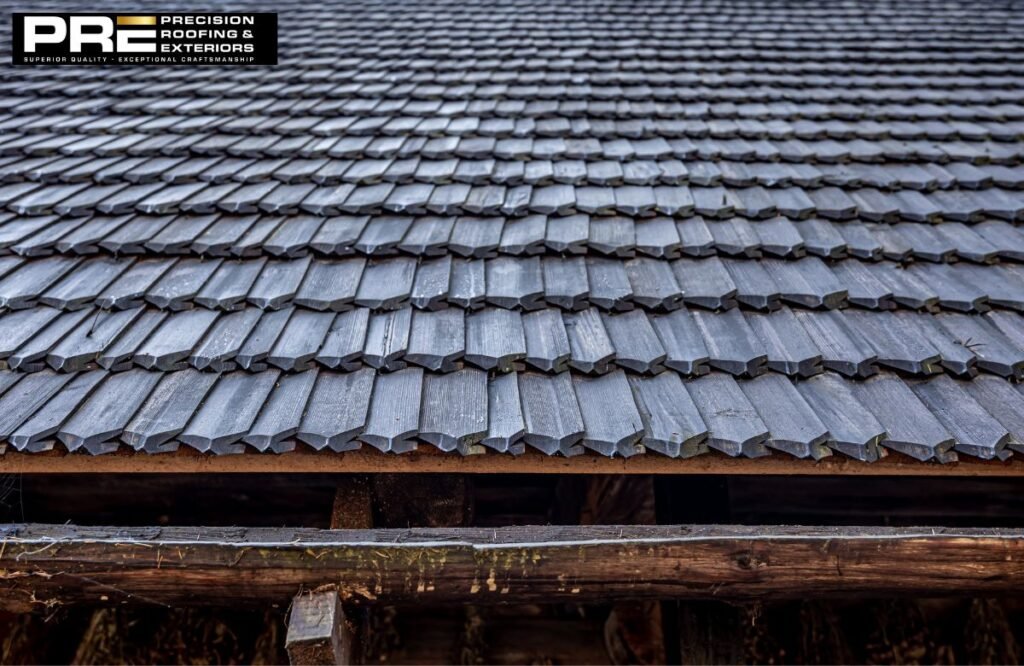
If not fixed in time, a leaking roof can cause severe damage to your home. Knowing how to fix a leaking shingle roof is important to avoid costly repairs and maintain your home’s integrity. Start by identifying the cause of the leak, which could be broken shingles, flashing, or clogged gutters. Next, gather the needed tools, such as a utility knife, replacement shingles, and roofing adhesive, to start your repair.
Damaged shingles need to be replaced to restore the roof’s protection. Also, do not forget to check and replace flashing to avoid leaks around vents and chimneys. A roofing tar seal or a patch kit can repair a minor leak. Finally, clean gutters and downspouts from debris so that water won’t build up.
Step by step Guide to Fix Leaking Shingle Roof
Fixing a leaking shingle roof is often a challenge, but not anymore because here are the easiest steps to try for a quick fix:
Step 1: Figure Out the Leakage
It is crucial to find the source of the leak so you can fix it. For this purpose, you have to inspect the interior and exterior of your roof thoroughly. Look for any water, stains, breaks in the material, or cracks in the roofing. You might have a displaced shingle or loose fixture causing the leakage. Therefore, you must check the roof carefully.
A leaking roof can also cause a musty order to help you identify it. However, most of the time, you can find leakage through dripping or water staining. You might also have a clogged gutter or dirt and debris accumulated on top of your roof, causing leakage.
Step 2: Get All The Necessary Gear
Once you know the leakage spot, you must have the right equipment to deal with it. The most important tools are a utility knife and a hammer. You might require materials like replacement shingles, roofing adhesives, or sealing agents. If the damage is severe, you might need a roofing tire or patch kit. However, it is highly important that you work wearing protective equipment like a helmet. It is better to be safe than sorry, so always take additional care while handling the roof.
Step 3: Repair the Damaged Shingles
Once you identify the damage to shingles causing the leak, you must repair or replace them immediately. Here is how you can do that.
- Take a prybar and lift the edges of the damaged shingles.
- Remove the nails that are holding the shingles.
- Make sure to avoid tearing the other shingles on the roof.
- Now, installing a new shingle that aligns with the surrounding shingles is an essential step in shingle roof installation.
- Nail it to its position using good-quality roofing nails.
Now, apply a good roofing adhesive to secure the shingles.
Step 4: Repair or Replace Flashing
The plastic or metal material installed around the vents, chimneys, and skylights is called flashing. A leakage can most likely be due to damaged flashing, so you must address it while fixing your roof. Observe the flashing to see if there are any cracks or gaps that are rusting. You might also find some breakage or lost nails. You can repair the flashing by applying roofing sealant to fill small gaps and cracks. Once you fix the flashing, you can reinstall it with roofing nails.
Step 5: Use Roofing Tar or Patch Kits
If the roof has minor leaks or cracks, you can fix them using a patch kit or roofing tar.
- However, you must start with so that there is no dirt and debris on the roof.
- Dry the area so that there is no moisture, and the materials stick firmly.
- Now, use a putty knife to spread a generous layer of roofing tire, covering the leakage area well.
- Allow the material to dry completely.
Roofing tar or patch kits provide an easy solution for minor leaks or cracks in the roof. The patch kits come with manufacturer instructions that you must consider before using them.
Step 6: Fix Issues with Gutters and Downspouts
If your roof is leaky because of a clogged gutter, you must address it as soon as possible, as it can damage the whole roof. Remove any leaves, dirt, and debris from the gutters. Check downspouts to make sure that the water is flowing. If there are small cracks in the gutter, fill them with a waterproof sealant.
Step 7: Call a Professional
Although you can manage small damages, holes, and cracks, always seek professional help form roofing company to avoid bigger damage. You might not be able to fix the roof as efficiently as a professional, and this might become a hazard for you.
How To Maintain Your Roofing?
Attention to maintenance and cleaning can maximize roofing efficiency. Here are some steps that you must repeat every few months to ensure that your roofing stays strong.
- Remove leaves, debris, and dust from the roof. You can sweep it off with a broom or use a vacuum.
- Keep looking for any damages, cracks, or leaks and fix them immediately.
- Always use a good quality roofing sealant so you don’t have to spend time and money on the second repeatedly.
Conclusion
With the right tools and steps, it is possible to fix a leaking shingle roof. Begin by finding the leak source and gathering the necessary equipment. Replace damaged shingles to restore the roof’s integrity, repair flashing for leaks around fixtures, seal minor cracks using roofing tar, and clear gutters to prevent water damage. Professional assistance is required in cases of significant damage for long-lasting solutions. Precision Roofing offers expert services in comprehensive roofing repairs and maintenance in tri cities. Trust our team for high-quality, reliable solutions customized to your needs.

